Piping Code With GitLab CI
A Simple Way to Make Your Life Easier
I finally got around to adding continuous integration pipelines to my personal projects.

What is Continuous Integration?
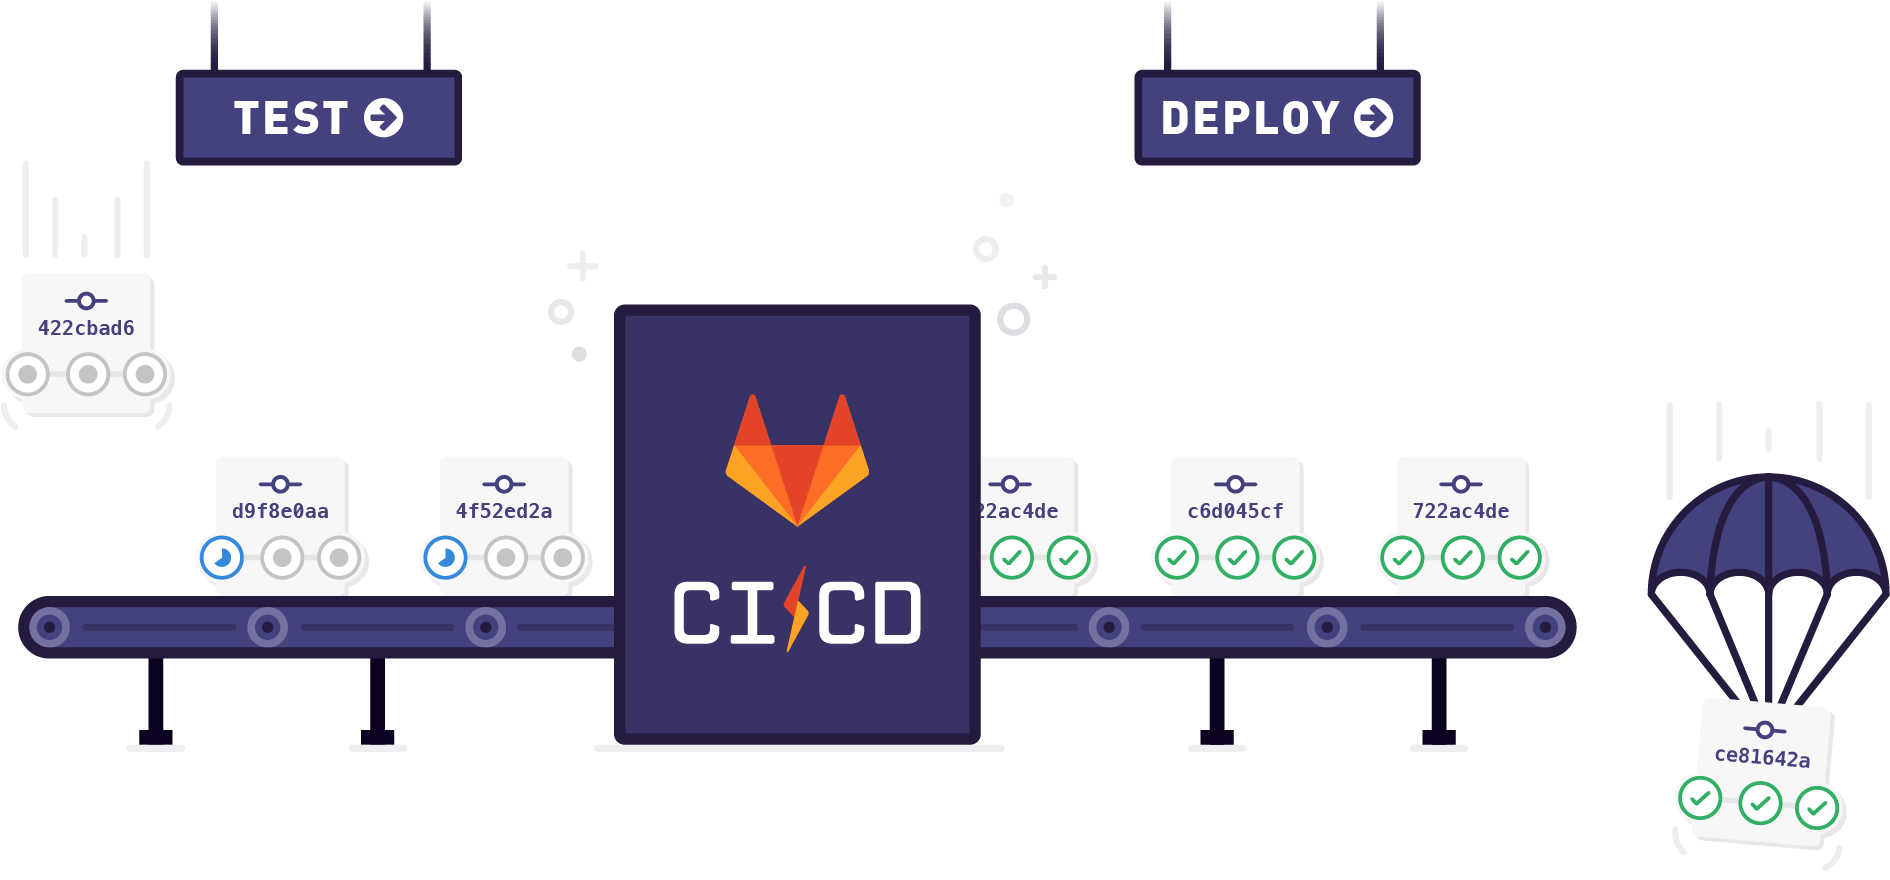
At its most basic, continuous integration (CI) is the practice of frequently merging developers' code changes into a mainline code repository. In recent years, the concept of continuous integration has taken on a life of its own and been expanded to include other aspects of development. For instance, almost anyone referring to continuous integration is under the assumption that the frequent merging will be automated. There have also been expansions of the idea such as continuous deployment (CD) where the code is not only automatically merged into mainline branches, but also built, tested, and deployed. By automating all of these simple repetitive tasks, developers can stop spending time on manual integrations and deployment processes and spend more time coding.
GitLab CI
For various reasons that are far outside the scope of this post, I host my personal code on an on-premises GitLab server. GitLab has hundreds of amazing features to take advantage and one of the nicest of them all is their CI/CD pipelines. GitLab has all of the automation and task running capabilities of other separate solutions built in.
All we have to do for GitLab to run our pipeline is to add a .gitlab-ci.yml file to the source code of our project. This small simple YAML file defines all of the building, testing, deployment, and other tasks that compose the pipeline. There's plenty of intricate and powerful ways to configure these files but at a starting level, you can simply add jobs with the same terminal commands that you used before you set up the automation.
After the pipeline is defined, we have to configure a machine that the tasks will run on, conveniently named a GitLab Runner. There are different approaches to building runners, from simple Linux servers to Kubernetes clusters to Docker virtual environments. I opted for a simple Linux server that has network access to my GitLab server. For this approach, apt-get was able to install everything I needed and after a few configuration tweaks, the runner was up and working.
See It In Action
Imagine that you have a simple JS app that you want to build and host as static files on a web server. Assuming the runner (the name for the machine that the CI runs on) and the web server are the same machine, a very simple .gitlab-ci.yml could look like this.
stages:
  - install
  - build
  - deploy

cache:
  paths:
    - node_modules/

install_dependencies:
  stage: install
  only:
    refs:
      - master
  script:
    - npm install

build_app:
  stage: build
  only:
    refs:
      - master
  script:
    - npm run build

move_files:
  stage: deploy
  only:
    refs:
      - master
  script:
    - sudo rsync -a ./ /srv
Let's break this down a little bit more
stages:
  - install
  - build
  - deploy
Simply defines the stages that will run and their order. Each stage can be made up of one or more jobs. We can see how this works continuing through the file and looking at the jobs. For example, the install_dependencies job will run npm install during the install stage of the pipeline.
install_dependencies:
  stage: install
  only:
    refs:
      - master
  script:
    - npm install
The only portion of that job, is a way to say that I only want this job to run for the master branch. Using matching like this, we can specify jobs (like tests) that will run on all branches and other jobs (like deploys) that will only run on master.
And that's it! It was crazy simple to set up and now I don't have to bother with builds, automated tests, or deployments for all my side projects — including this blog. Whenever I make a commit, that code goes live on the site without any input from me.
That's all for this post; not a long one today. I just wanted to share my excitement about the powerful simplicity that CI offers.